ANSYS FLUENT will perform various checks on the mesh and report the progress in the console. Ensure that the reported minimum volume is a positive number.
2.
Scale the mesh.
GeneralScale...
(a)
Select
mm from the
View Length Unit In drop-down list.
The
Domain Extents will be reported in
mm.
(b)
Select
mm from the
Mesh Was Created In drop-down list.
(c)
Click
Scale and close the
Scale Mesh dialog box.
3.
Check the mesh.
GeneralCheck
Note:
It is good practice to check the mesh after manipulating it (scale, convert to polyhedra, merge, separate, fuse, add zones, or smooth and swap).
4.
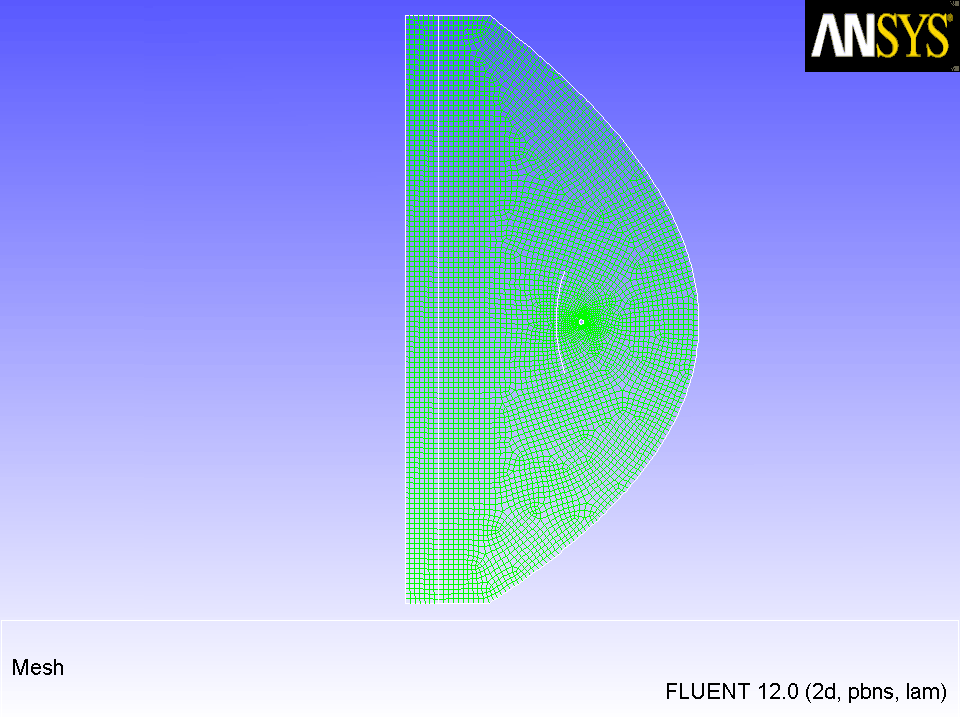
Examine the mesh.
Figure 6.2: Graphics Display of Mesh
5.
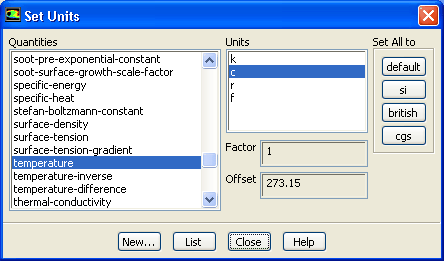
Change the unit of temperature to centigrade.
GeneralUnits...
(a)
Select
temperature from the
Quantities selection list.
(b)
Select
c from the
Units selection list.
(c)
Close the
Set Units dialog box.
6.
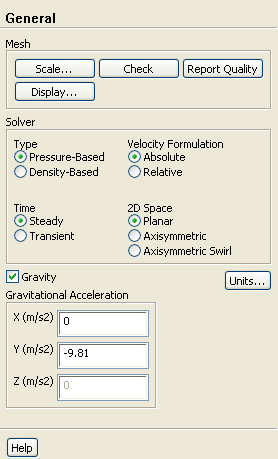
Retain the default solver settings.
General
7.
Enable
Gravity.
(a)
Enter
-9.81 for
Gravitational Acceleration in the
Y direction.
![[ANSYS, Inc. Logo]](fluentlogo.gif)


 General
 General
 Check
Check
 General
 Scale...

 General
 Check
Check
 General
 Units...
 General
 for
Gravitational Acceleration in the
Y direction.
for
Gravitational Acceleration in the
Y direction.